
Fixing up a Sun Ultra 1
My experience repairing and setting up a Sun Ultra 1 from 1995.

Overview
On a whim, I bought myself a Sun Ultra 1. Georgia Tech had a lab of these that had been relegated to a smaller space by 1998 when they rolled out RedHat machines as their primary UNIX environment. It's one of the last generation of computers that was custom built and designed by one company. Most other companies had moved to Commercial of the Shelf components (COTS) by the time this machine was built. As a result, it has an interesting structure including:
- 64-bit UltraSPARC chip
- SBus architecture
- NVRAM with built in battery
- All SCSI interface
I won't go into too much detail, but the Wikipedia article has an overview.
This is the article on the actual Ultra 1:
https://en.wikipedia.org/wiki/Ultra_1
Physical repairs
The machine I bought was used off eBay and had some physical damage to the case. The exterior shell was repaired with some basic superglue. It wasn't perfect but it stuck well enough. Underneath the outer case, there are some plastic faceplates attached. The one around the CD and Floppy had broken pretty badly and got worse when I removed the case for the first time. Unfortunately, superglue did not stick to that plastic. I mocked up a replacement in a CAD program and printed a replacement. The trickiest part was finding a PLA that was close to the original blue-gray color that Sun used on the rest of the under plastic.
If you want a copy of the model, you can find it here:


The closest PLA I could find to the original Sun blue/purple/gray was this:
https://www.amazon.com/dp/B0836FJ3G1
It's a slightly darker color than I the original. I saw some people suggest color matching the original at the paint store and painting the replacement part. Because this is pretty close and underneath the outside case, I opted to be fine with the color of this PLA.
Video
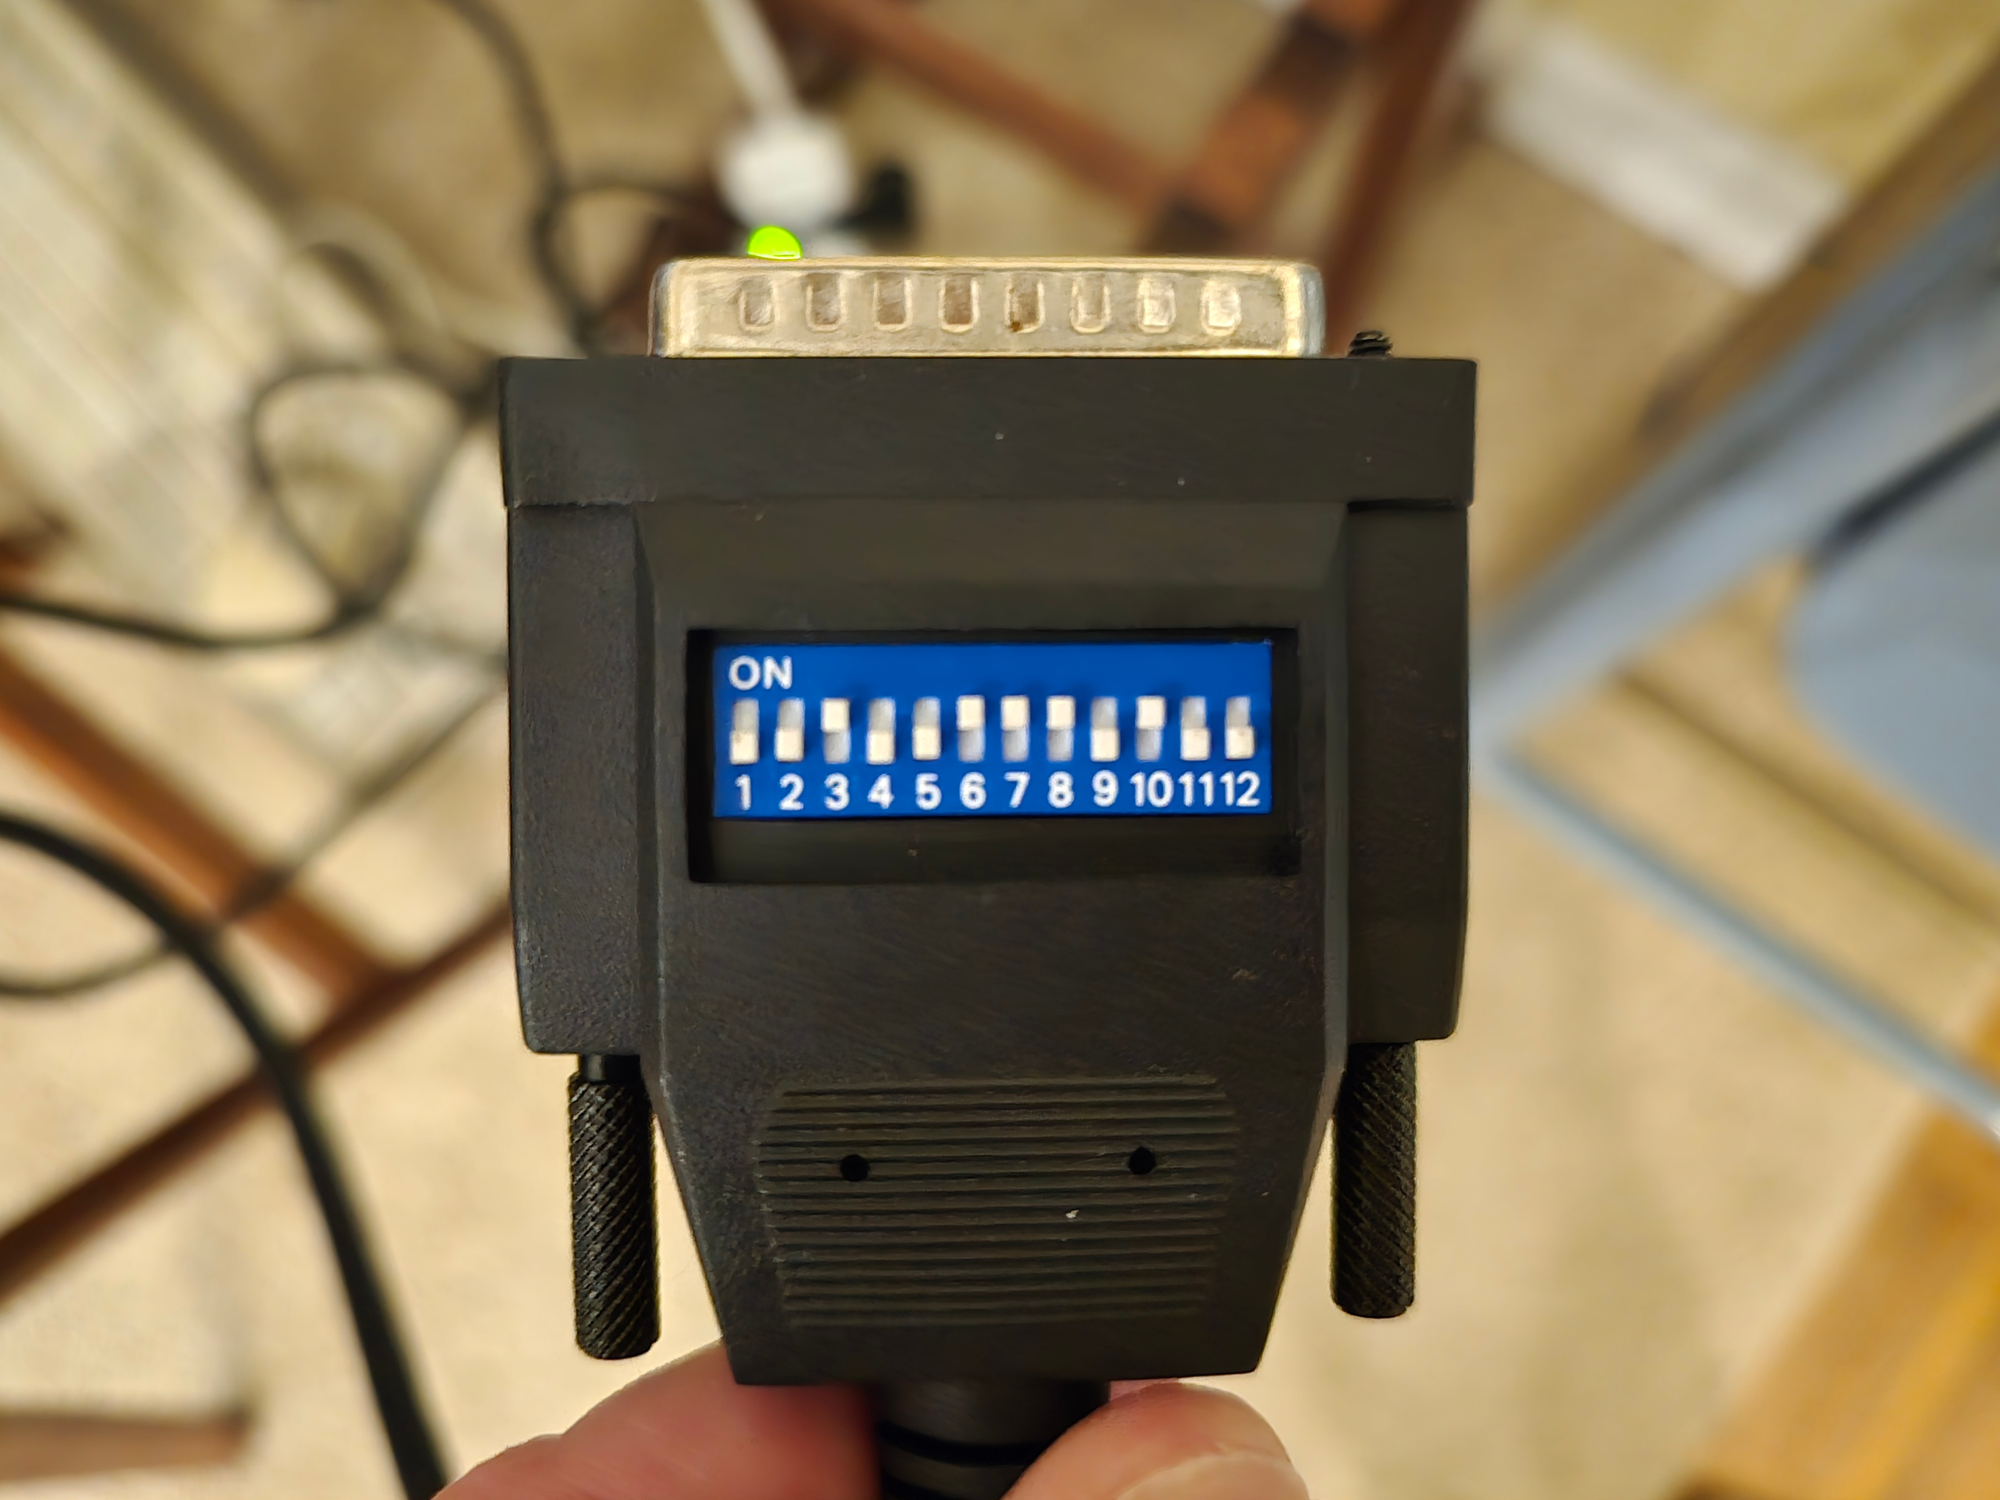
The Ultra 1 comes with a DB13W3 video connector which is not a standard that survived into the modern age. I bought a Sun Monitor to go with the Ultra 1 but when I arrived it was grayscale and had some pretty serious video issues. I may look at repairing that at a later date.
Since the DB13W3 is an analog standard, it that can be adapted to VGA with an adapter. I bought a cable with the adapter built in and used it to connect a flat panel with VGA.
This is the one that I used.
https://www.amazon.com/dp/B0C2MBSLB1
The included manual comes with the settings for Sun Systems. In case you don't have them, this works for me.
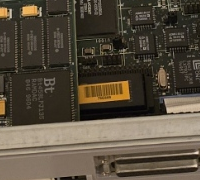
NVRAM
Most computer systems have a battery to keep the data in NVRAM stable. This is usually a socketed coin-cell or cylindrical battery in a holder. I the case of Sun they were building NVRAM chips with a built-in, non-rechargeable, battery. In the 30 years, since this machine was made, the batteries have all died. So, when you power it on for the first time, you get lots of IDPROM errors in the POST process.
There are articles on "adapting" the NVRAM chip to add a battery. I opted for the cheaper option. You can order a M48T59Y-70PC1 which is a compatible replacement for the original chip. There are multiple sellers on eBay and they cost approximately $15+shipping. On top of the original NVRAM chip, there is a label. Be sure to write down the values and put a sticker or label on the new one. That's the system ID and you need it to reprogram the NVRAM after you replace it.
This very good article covers how to create recreate the NVRAM values:


The key section is below. Enter the commands into OpenBoot (Stop-A to enter). See the note below on the data from the old NVRAM chip label.
set-defaults
1 0 mkp
80 1 mkp
8 2 mkp
0 3 mkp
20 4 mkp
xx 5 mkp
yy 6 mkp
zz 7 mkp
0 8 mkp
0 9 mkp
0 a mkp
0 b mkp
xx c mkp
yy d mkp
zz e mkp
0 f 0 do i idprom@ xor loop f mkp
Please Note:
xx yy and zz you see in the above commands, represent the last 6 hex digits of your MAC address, and you can get it from the label on your old NVRAM chip.
Hard Disk
The Ultra 1 is an all-SCSI system. That includes the CD-ROM and the floppy drive (as far as I can tell). The hard disks are attached to a SCSI backplane with SCA connectors. My original plan was to attach a modern device like a BlueSCSI or ZuluSCSI device that would allow me to present different LUNs to the SCSI controller in a flexible manager. Unfortunately, I wasn't able to find an SCA to 50-pin SCSI adapter that would work in the direction I needed. They all seem to be allowing you to use SCA drives with a 50-pin or 68-pin SCSI controller.
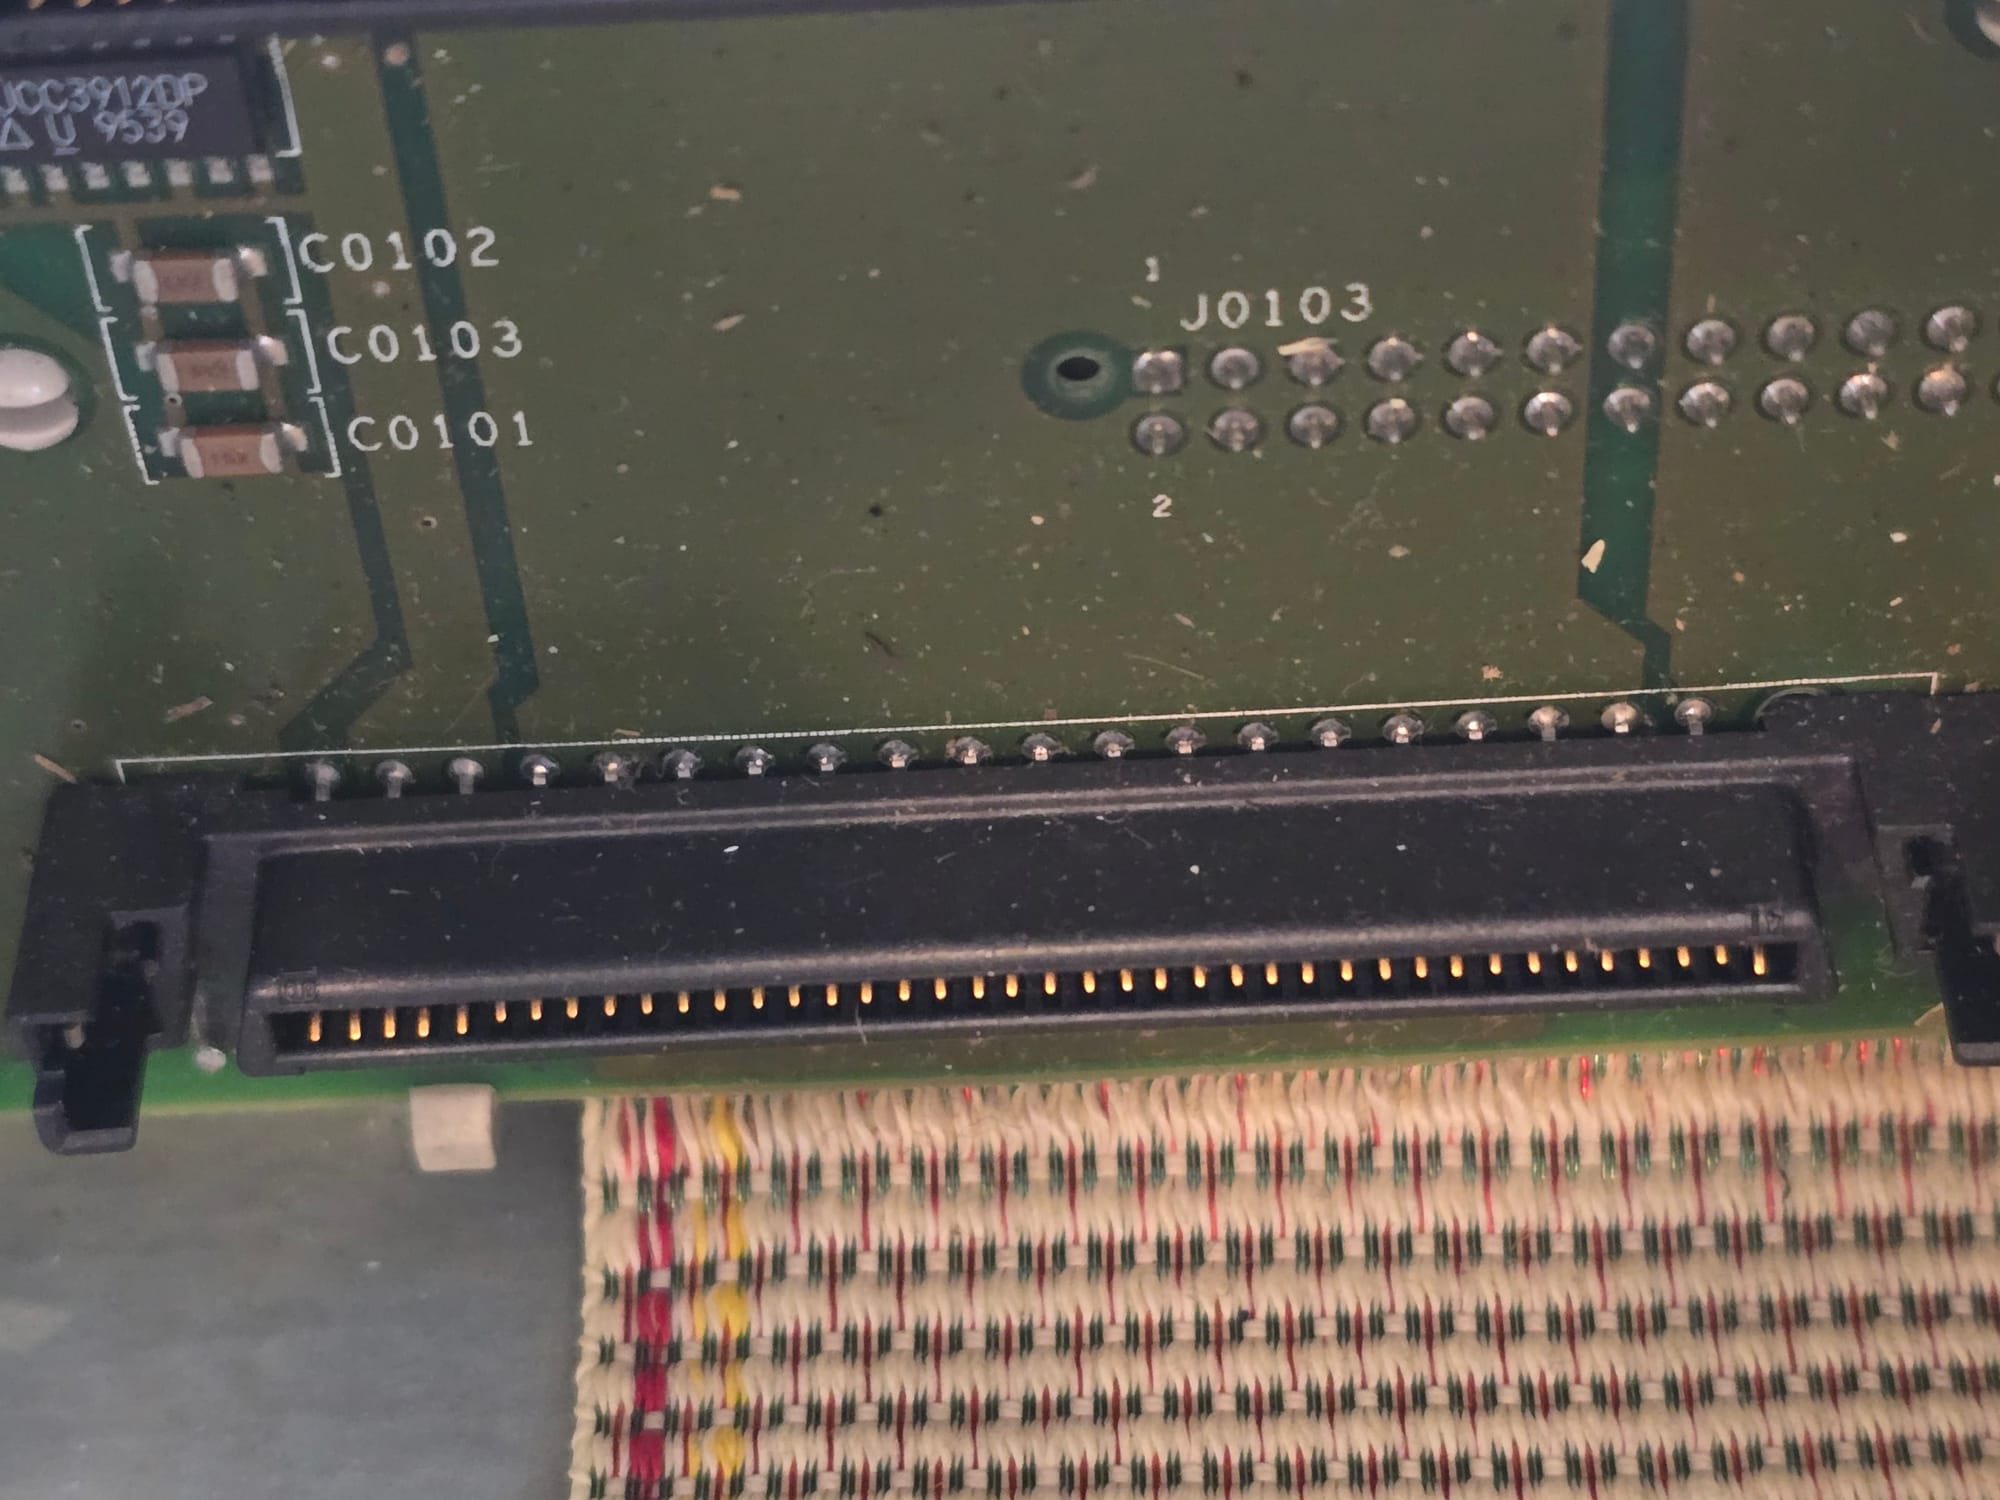
I had to resort to diving through my hard drive stash. I was able to find a 4.3GB 10K RPM SCSI drive with an SCA connector. That connected fine but I didn't have any drive rails for it. So, I designed and printed those as well. These are barebones but will fit in the enclosure of the Ultra 1. You may be able to use other generic drive rails just fine.
Mine are here:

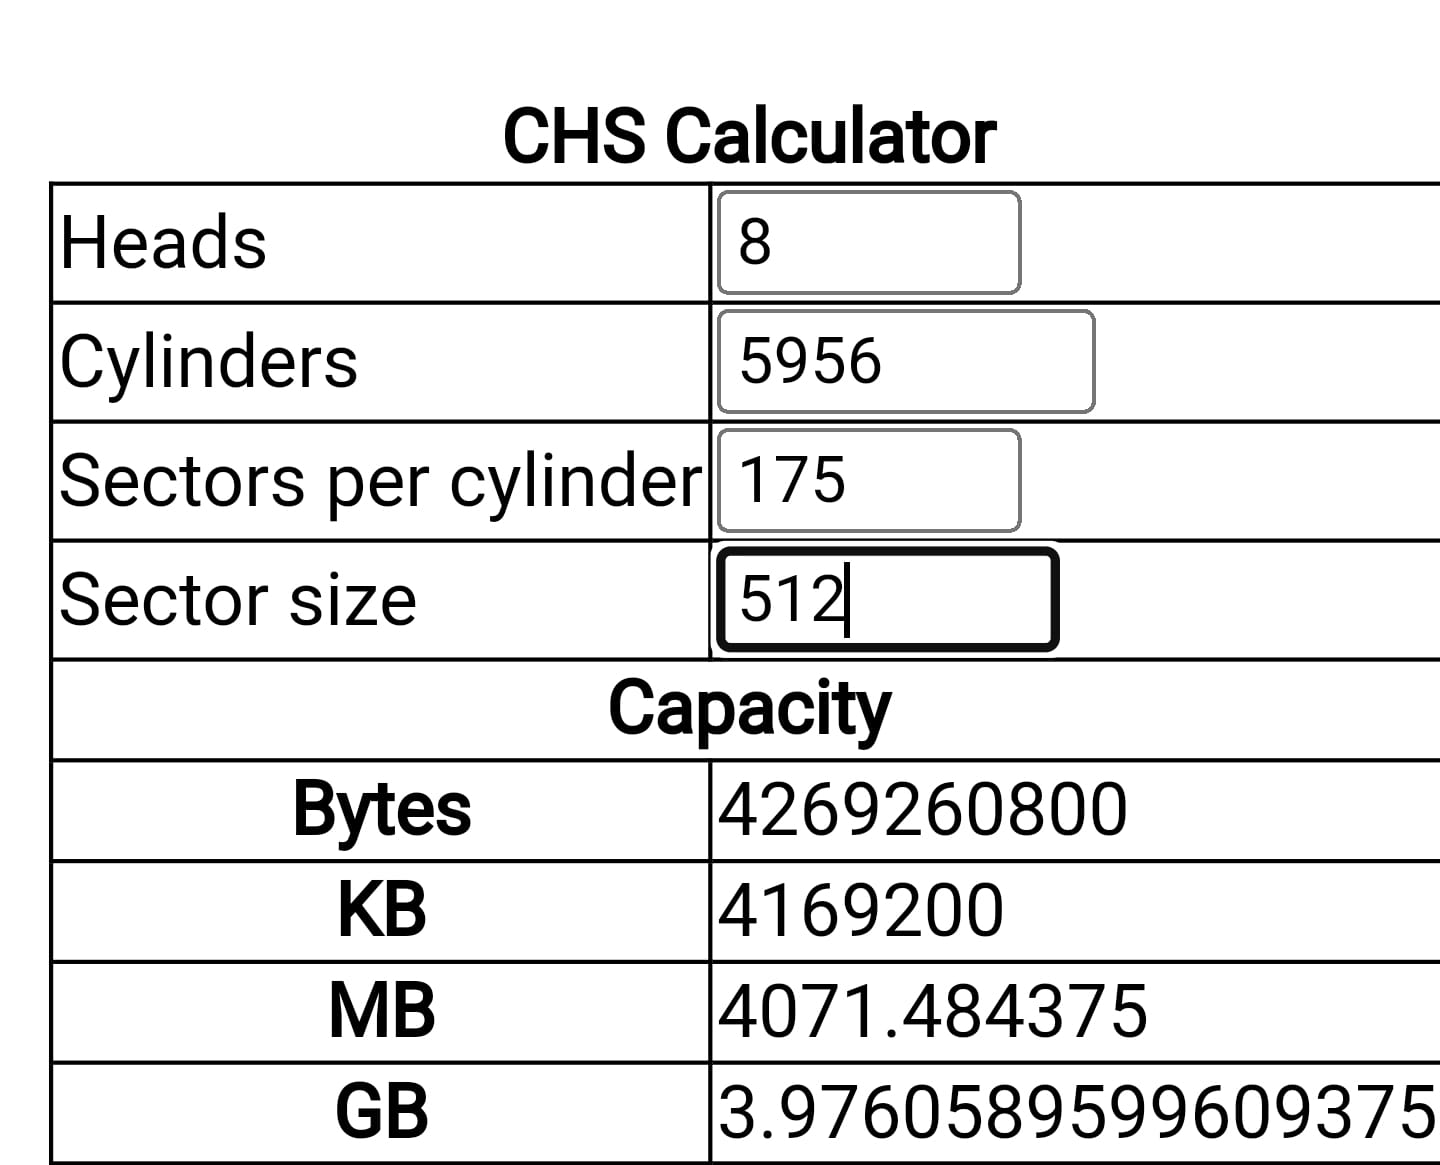
The next challenge was that my drive is not one of the 17 that are officially supported on this system. So, the system doesn't know how to address it. Auto configure was not successful. For reasons passing my understanding, the system uses CHS values from the old IBM PC INT13 calls to define the drives. However, the system is all SCSI. SCSI doesn't use those values to address drives. This is a SCSI system which is using fake CHS values to define the number of blocks. As long as everyone is lying to everyone, we just need SOME CHS VALUES that equal the right drive size (less is OK, more is a problem). I used this tool to play with the values until I was just under the number of bytes supplied by the disk. I got the raw numbers from the Western Digital specs for this drive.
https://www.deathwombat.com/diskgeometry.html
So, once you have your fake CHS values, you can run the format utility and partition (label) the drive then format the partitions. The first Solaris 8 CD is bootable and will drop you to a command prompt if the drive isn't in a usable state.
You can boot from the CD-ROM by typing boot cdrom at the OpenBoot ok prompt. Once the Solaris 8 installer boots, errors out, and drops you to a prompt, run the format command. You'll need to select your drive with the disk option and then run the type command and select Other to create a definition of the drive you have.
Provide the values from the CHS generator for heads, cylinders, and sectors per cylinder (sectors per track). For cylinders, you need to subtract 2 from the total number in the generator. You should be able to accept the defaults for the rest. The last prompt is for a type name. This must be entered with quotes.
Once you have the disk type defined, you can choose the label option. You can customize the partitions or accept the default and write the values to the disk. After the partitions are written to the disk, you can run the format command in the tool to create the file systems in the partition map. This will take a little bit of time.
When it finishes, you should have a disk that is configured and ready to install Solaris.
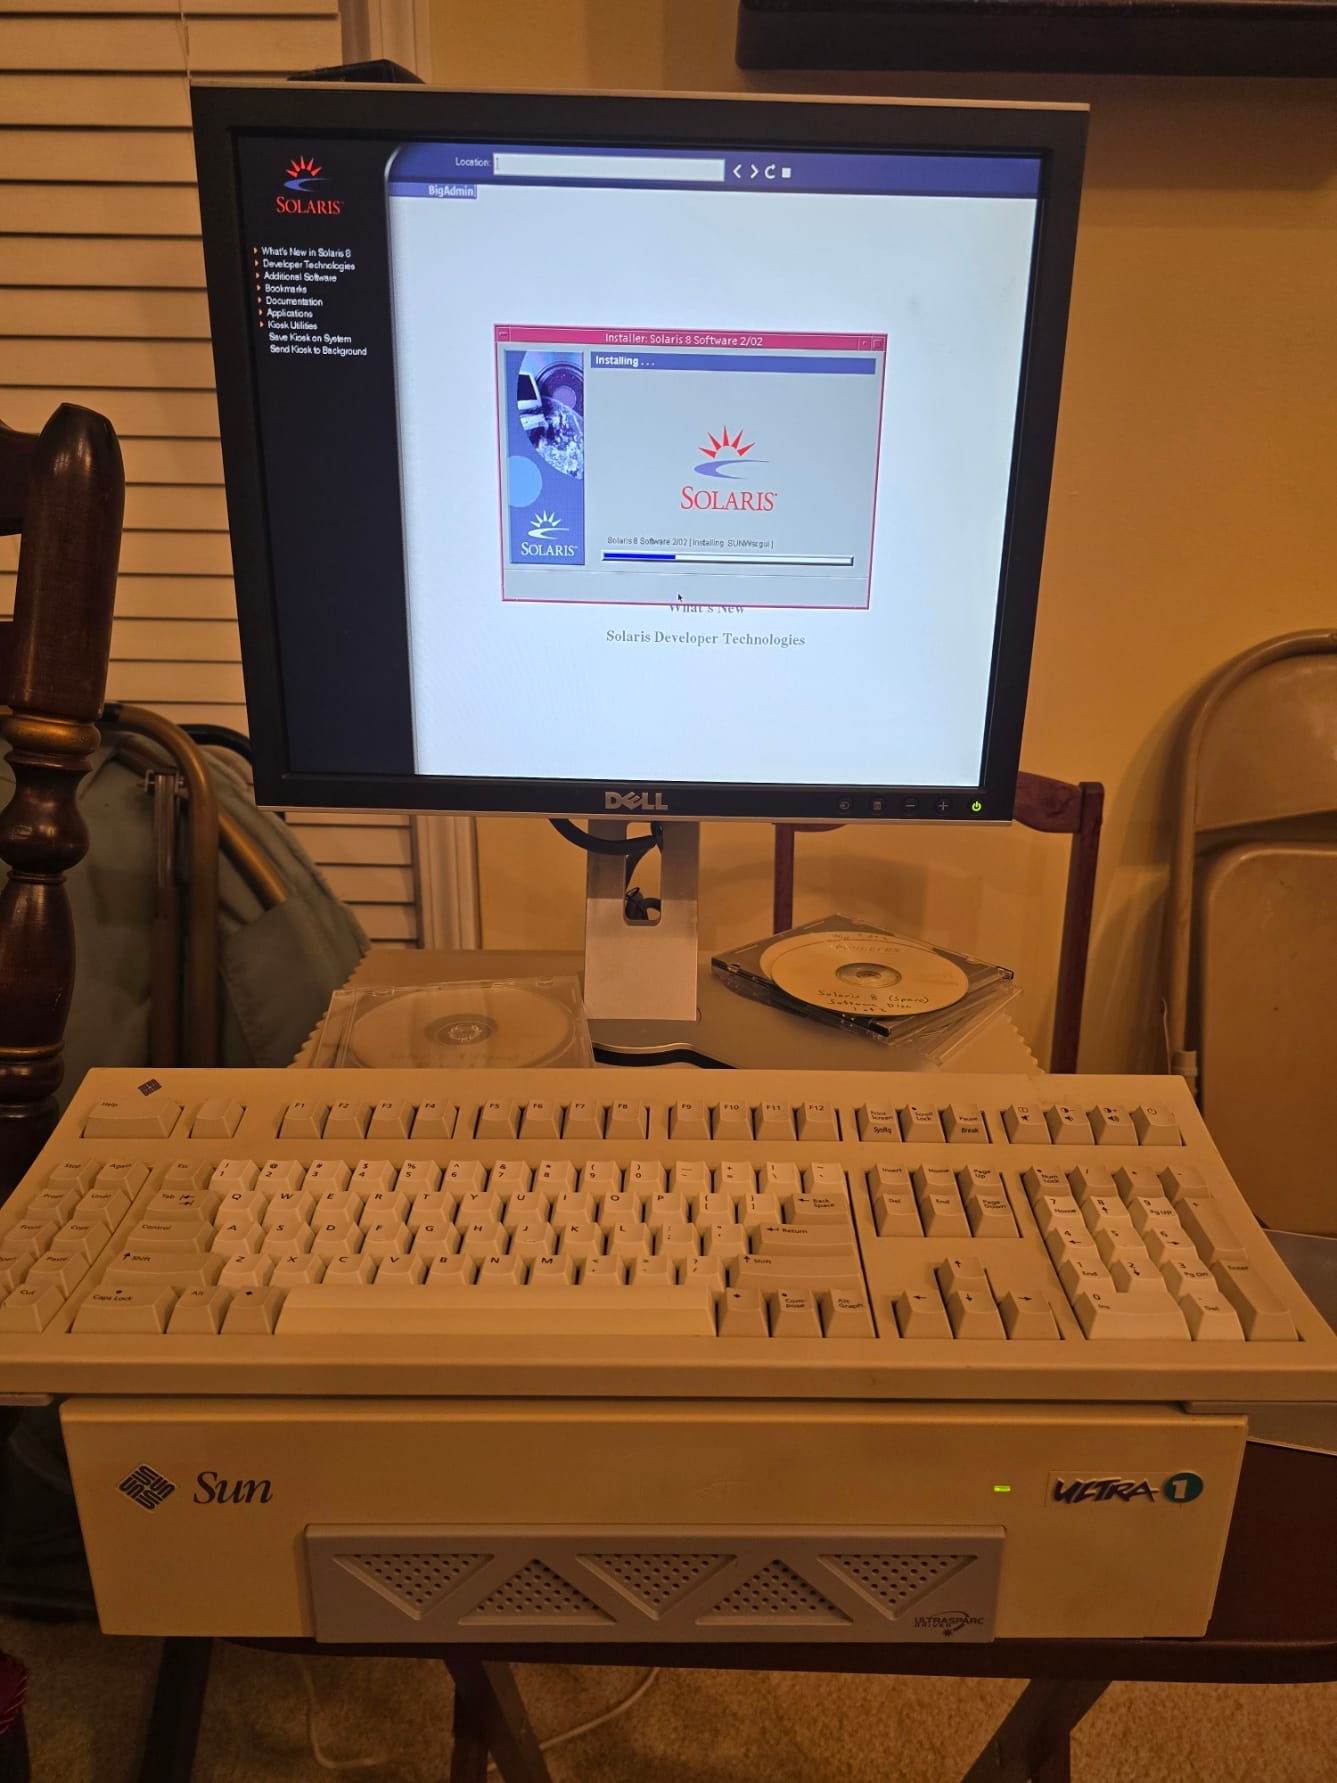
Installing Solaris 8
The Ultra 1 is a SPARC-based system. I opted for Solaris 8. You will need the Install CD, Software CDs, the documentation CD, and the Supplemental CD. If you don't have a copy of the CDs, you can find them on the Internet Archive:


Once you have the media arranged, you can start the setup process by booting the install CD. You can take the defaults for the install until you get to the question on a Networked install. I initially tried to skip networking but I kept getting a blank message box that I couldn't close or acknowledge after the system rebooted.
If I selected a networked install, I was able to get further. You probably want this either way. There is one catch, while it will let you select DHCP during the installer, the process will fail later with a message about being unable to assign the address to the network adapter. You will need to give it a static IP on your subnet in order to successfully complete the install. This is a bug in the installer and is addressed in the Oracle FAQ. You'll also want to select DNS as the name resolution and supply the values for your DNS servers. You can switch all this back to DHCP later on.
Once I got Solaris 8 installed and running, I was still having network issues. After some playing around, I identified two issues:
- The network adapters don't always auto negotiate with modern switches. I had to statically assign the speed on the switch port to 10 Mbps Full Duplex or 100 Mbps Full Duplex depending on the adapter.
- The default MAC address that Sun auto generates is for the system (not the adapter as we normally see in other machines). That address has some multicast properties and other systems will reject it as a source of ethernet frames. So, no matter which adapter you use it will not be able to send packets to other systems. You can fix this by hard setting the MAC address using ifconfig. I looked up the prefix for Oracle in the vendor database for ethernet registrations and grabbed the oldest one.
https://maclookup.app/vendors/oracle-corporation
I then used the last three sections from the old MAC address with the prefix from the DB.
ifconfig <adaptername> ether 00:00:7D:xx:yy:zz
where the xx, yy, and zz values are the same ones you used in the NVRAM setup. You can also get them by looking at the last three sections of the MAC address inifconfig -a

At this point, I had working network connectivity. I used a tool called WebOne (https://github.com/atauenis/webone) which I host on a Raspberry Pi as a proxy for all my retro systems. It allows them to speak to servers that only support newer encryption standards. With that I could load basic pages in Netscape and I was in business.
However, it is reverted after I rebooted. So, in doing some research, the only way to fix it is to run a script at startup to update the MAC address. This involves creating a file in /etc/init.d with a script that takes the interface down, updates the MAC address, brings the interface back up, and sets the hostname. Optionally, you can trigger DHCP if you have it configured that way (ie. a file in /etc/dhcp.<interfacename>.
Mine looks like this:
#!/bin/sh
/usr/sbin/ifconfig le2 down
/usr/sbin/ifconfig le2 ether 00:00:7D:XX:YY:ZZ
/usr/sbin/ifconfig le2 up
/usr/sbin/ifconfig le2 dhcp
/usr/bin/hostname <my hostname>
Once you have the file created, make it executable
chmod +x /etc/init.d/<scriptname>
Then link it to the necessary runlevels (1-3). Use the S prefix to indicate it should be run when a runlevel starts and a number to indicate the order. It should be after the filesystems mount but before any network services start. You can view the existing list of services for each runlevel by running ls on the /etc/rc<runlevel>.d folders. Mine looks like this:
ln -s /etc/init.d/macaddress /etc/rc1.d/S25macaddress
ln -s /etc/init.d/macaddress /etc/rc2.d/S15macaddress
ln -s /etc/init.d/macaddress /etc/rc3.d/S15macaddress
OpenBoot and 64-bit
The UltraSPARC is a 64-bit processor, but there are some bugs that prevent it from running in 64-bit mode on older versions of OpenBoot. My Ultra 1 was running OpenBoot 3.1 and needed an update to 3.11. Fortunately, the install of Solaris 8 contains the update and it will prompt you to install it at each boot (unless you tell it not to). Before you can run the install, you need to move the J2003 jumper from pins 1-2 to pins 2-3. Pin 1 is marked with a "*" on the motherboard. This enables the write access to the NVRAM chip. Make sure the system is off when moving jumpers around. Boot the system up and let the update run. Once the update is complete, move the jumper back to pins 1-2.
In theory it should boot 64-bit after that unless you have forced it to 32-bit. An empty boot-file value (the default) should default to 64-bit. In my case that didn't work and I had to force it to boot the 64-bit kernel. There are two ways to update the boot-file values to 64-bit:
From Solaris:
/usr/sbin/eeprom boot-file="kernel/sparcv9/unix"
From OpenBoot:
setenv boot-file kernel/sparcv9/unix
Once the system is booting the 64-bit kernel, you need to tell the OS not to warn about old processors. You need to edit /platform/sun4u/boot.conf and uncomment the following line:
ALLOW_64BIT_KERNEL_ON_UltraSPARC_1_CPU=true
Patches
I decided to go ahead and bring my new Solaris install up to the current patch level to get as many security and bug fixes as possible. The documentation and most of the references I could find on the web tell you to go to https://sunsolve.sun.com. Of course, that no longer exists. Oracle requires you to have a support contract to use their site. There are some sites like fsck.technology that have "patch clusters" available. A patch cluster is basically a snapshot of patches from a given moment in time. I grabbed the latest (8_Recommended.zip) from here:
https://fsck.technology/software/Sun Microsystems/Solaris Install Media/Sun Solaris 8/Patches/
Then, you just unzip the file (it becomes quite large so make sure you have plenty of space on whatever partition you chose to use) and run the ./install_cluster command in the extracted directory to start the install. It is fairly self explanatory from there, but it does take a LONG TIME. I installed Solaris 8 2/02 and it took about 8 hrs of constant patching to get the 2005 patch cluster installed.
I hope you found this interesting/helpful. It was a painful process, but I was able to get it working in the end. Lots of troubleshooting, lessons learned, and good references were identified.
References
Ultra 1 Reference Manual
https://docs.oracle.com/cd/E19127-01/ultra1.ws/802-3816-10/802-3816-10.pdf
Ultra 1 Service Manual
https://docs.oracle.com/cd/E19127-01/ultra1.ws/802-3819-10/802-3819-10.pdf
Enabling 64-bit boot mode
https://www.tek-tips.com/threads/how-to-boot-a-64-bit-kernel-vs-32-it-in-solaris-8-on-a-sparc-10.400645/
OpenBoot commands
https://shrubbery.net/~heas/sun-feh-2_1/General/OBP.html